


In the age of digital technology, many of us spend significant amounts of time in front of our computer monitors. Whether you’re working, gaming, or streaming your favorite shows, visibility is key. But do you ever stop to consider the state of your monitor screen?
Dust, fingerprints, and other residues can subtly build up over time, affecting not only your viewing experience but also potentially the lifespan of your device.
Today, we delve into the importance of cleaning your monitor screen and how to do it properly.
Why You Need to Clean Your Monitor Screen Regularly
It’s easy to overlook the gradual accumulation of dust and smudges on your screen. However, these seemingly minor issues can greatly affect your visibility, causing eye strain and even headaches. Moreover, excessive dirt can potentially interfere with the functionality of your screen.
Regular cleaning is not only beneficial for your health and productivity but also helps maintain your device in top-notch condition, extending its longevity.
What You Shouldn’t Do When Cleaning a Monitor Screen
Before we dive into the correct cleaning process, let’s discuss some common mistakes people make. Using harsh chemicals or abrasive materials, like paper towels or alcohol-based cleaners, can damage your screen. These can cause scratches, discoloration, and even remove the protective coating on some screens. Always avoid these methods.
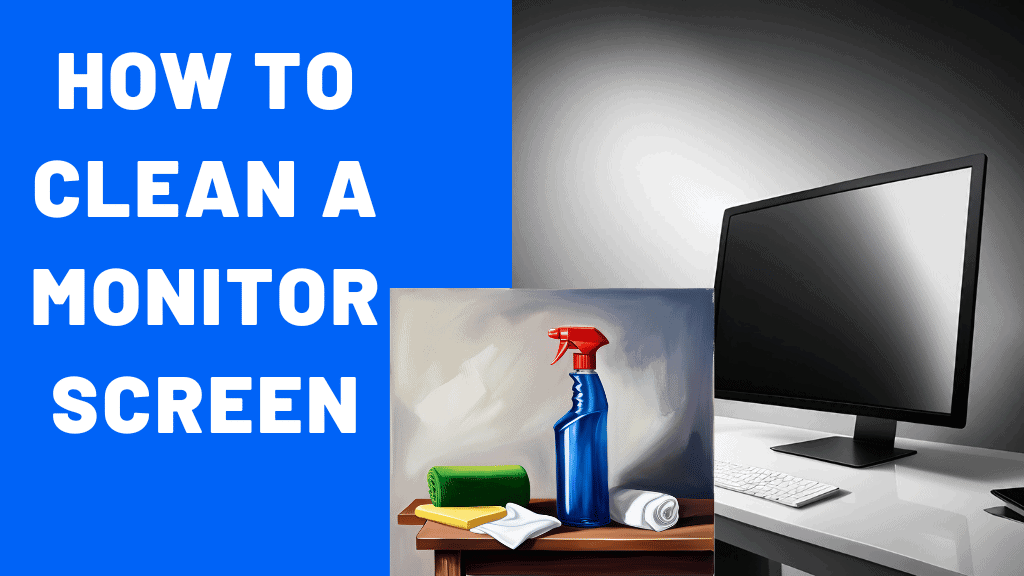
Materials Needed for Proper Monitor Cleaning
Cleaning a monitor screen requires some specific materials to ensure that you do not damage your device in the process.
Here is a list of the essential items you’ll need.
1. Microfiber Cloth
This is the most important tool for cleaning your monitor. Microfiber cloths are soft, non-abrasive, and designed to pick up dust and grime without scratching the surface of your screen. They’re also washable and reusable, making them an eco-friendly choice.
2. Screen-Safe Cleaner
There are many cleaning solutions available on the market specifically designed for electronics. These cleaners are usually alcohol and ammonia-free to prevent damage to your screen. If you prefer a DIY solution, you can make your own cleaner by mixing equal parts distilled water and white vinegar.
3. Distilled Water
If your screen is not heavily soiled, distilled water alone might be sufficient. It’s important to use distilled water as tap water can contain minerals that may leave residues on your screen.
4. Spray Bottle
If you’re using a DIY cleaning solution, a small spray bottle can be handy. Remember, you should never spray the solution directly onto the screen. Instead, spray it onto your microfiber cloth.
5. Compressed Air Duster
This isn’t a must-have, but it can be useful for removing dust from hard-to-reach areas like corners and ports. Make sure to use short bursts of air to prevent any damage.
6. Soft Brush
A soft, fine-bristled brush can be useful for gently removing dust from the edges and the back of the monitor.
By having these materials on hand, you’ll be well-prepared to clean your monitor safely and effectively. Always remember to handle your device with care during the cleaning process to avoid causing any damage.
Step-by-Step Guide on How to Clean a Monitor Screen
Here’s a simple, step-by-step guide on how to clean your monitor screen properly:
Step 1: Power Down and Unplug Your Monitor
Before you start cleaning, it is crucial to ensure that your monitor is powered down and unplugged. This is not just a safety measure for you, but also a preventative measure for your device. Turning off your monitor allows you to see the dust and smudges more clearly. Moreover, cleaning a live screen can cause static electricity which can potentially damage the monitor’s components.
Step 2: Dust Off Your Screen with a Dry Microfiber Cloth
Start by gently dusting off your screen using a dry microfiber cloth. These cloths are designed to pick up dust particles effectively without scratching the surface of your screen. Always wipe in one direction (top to bottom or left to right) rather than in circular motions to avoid pushing dust into the corners or creating scratches.
Step 3: Apply Screen-Safe Cleaner to Your Cloth
Never spray the cleaner directly onto the screen as this can seep into the edges of the screen causing damage. Instead, apply a small amount of a screen-safe cleaner onto your microfiber cloth. Make sure the cloth is damp, not soaking wet. You can use a cleaner specifically designed for electronics or a simple solution of distilled water and white vinegar in equal proportions.
Step 4: Wipe Down Your Screen Gently
Gently wipe the screen with the damp cloth. Start from the top and work your way down. This helps to prevent streaks and ensures you cover the entire area. Be careful not to press too hard as this can damage the pixels beneath the screen surface.
Step 5: Allow Your Screen to Dry Completely
Once you’ve wiped the screen, allow it to dry completely before plugging it back in. This is to prevent any possibility of electrical short circuits from residual moisture.
You can use a dry section of your cloth to remove any excess moisture and speed up the drying process.
Remember, regular cleaning can help maintain your monitor’s performance and extend its lifespan. However, always refer to the manufacturer’s instructions, as some may have specific cleaning recommendations.
Tips for Maintaining a Clean Monitor Screen
While the step-by-step guide provides a comprehensive method for cleaning your monitor screen, here are some additional tips to keep in mind.
Use Light Pressure
When cleaning your screen, always use light pressure. Screens are delicate, and applying too much pressure can damage the pixels.
Clean Regularly
Regular cleaning prevents the build-up of dust and grime. Depending on how much use your monitor gets, a weekly or bi-weekly cleaning schedule could be appropriate.
Don’t Forget the Edges and Back
While the screen is the most important part, don’t forget to clean the edges and back of your monitor. Dust can accumulate in these areas and potentially cause overheating issues.
Spot Clean
If you notice a smudge or fingerprint on your screen, don’t wait for your regular cleaning schedule. Spot clean as necessary to maintain clear visibility.
Avoid Direct Sunlight
Try to avoid placing your monitor in direct sunlight. Extended exposure to the sun can cause screens to fade and plastic components to become brittle over time.
Conclusion
Maintaining a clean monitor screen is not just about aesthetics; it’s about ensuring the longevity and functionality of your device. By following this detailed guide, you’ll be able to keep your screen looking its best and performing optimally. Remember, each monitor is unique, so be sure to refer to your manufacturer’s instructions for any specific cleaning guidelines.
Maintaining a clean monitor screen is crucial for your viewing experience and the longevity of your device. By avoiding common cleaning mistakes and following our step-by-step guide, you can easily incorporate screen cleaning into your device maintenance routine. Remember, a clean screen is a clear window to the digital world that enhances your productivity and enjoyment.
Now that you’re equipped with the knowledge on how to clean your monitor screen like a pro, we’d love to hear your experiences!
Feel free to share your own tips and tricks in the comments below. And if you’ve found this guide helpful, don’t forget to share it with your friends and family.
Happy cleaning!